
Theo and I were pretty lucky to have booked our cookery class on the
only day when there was a non-stop storm. It was dramatic cooking under a tin
roof with huge drops of rain pattering down and sonorous peals of thunder.
The reason we were doing the class that day was that I had
procrastinated and procrastinated booking anything because it was so difficult
to choose which course would be right for me.
There are literally hundreds to choose from and the reviews
are so positive that it leaves it difficult to know how one stands out from
another, or how advanced each one might be.
My predicament was that although I am very much a home cook,
I have forayed into Thai cooking quite substantially with David Thompson’s
incredibly thorough tome ‘Thai Food’ and didn’t want anything too basic. I
have spent 6 hours perfecting his Massaman paste so know how much work can go
into some dishes! One thing I found when looking into these courses is that in
many of them you don’t even make your own curry paste, which to me renders the
whole thing pretty redundant as I am sure that the same quality and variety of
curry pastes just isn’t available at home.
 |
| I was clearly taking this very seriously! |
This blog was particularly helpful and enabled me
to narrow down my list to Dot Thai Cooking and Classic Home Cooking. Dot’s
class is only affordable if you stay in the affiliated guesthouse and I wasn't organising this in advance so I went with
the Classic Home Cooking course. If I return I would probably go for Dot as her class seems
more advanced.
The classic home cooking class is great, and much more
flexible than many others. I wanted to try some Northern dishes since I was in Chiang Mai after all, and had really enjoyed some of the street food (see my guide here)so flexibility was important. With this course, you get to choose 4-6 dishes to cook (depending on
whether you go for a shorter or longer day) and shop in Thanin market for the
ingredients together before learning to cook what you have selected. I was a bit skeptical about this part as I thought I had a pretty good grasp of Thai ingredients already but there were some new, strange things to see (and inquire about), and it was pretty good fun.


I chose to make red curry paste as the base for Khao Soi (a
traditional Chiang Mai coconut curry noodle dish) and Gaeng Hang Lay (a
Burmese-style Thai curry). Seafood sauce (a chilli and coriander based sauce
that is served in most seafood restaurants), Pad Thai and a seafood salad.
The recipes were relatively rustic and I might have
preferred something that revealed a few more tricks of the trade but it is a ‘home
cooking’ course run by a charming couple so I can’t really complain. The most
valuable things I got out of it were:
·
A couple of the recipes I hadn’t come across
before (Gaeng Hang Lay and Seafood sauce)
·
Perfecting my pestle and mortar technique
·
The difference between an aluminium wok and an
iron wok (iron is better for stir fries whereas aluminium is good for curries)
·
Understanding the difference between regular
garlic and Thai garlic – Thai garlic tastes mellower and is used with the peel
on
·
How fried Thai garlic is a delicious addition to
Thai salads (you just fry whole cloves with the skin on in oil until they are
lightly bronzed)
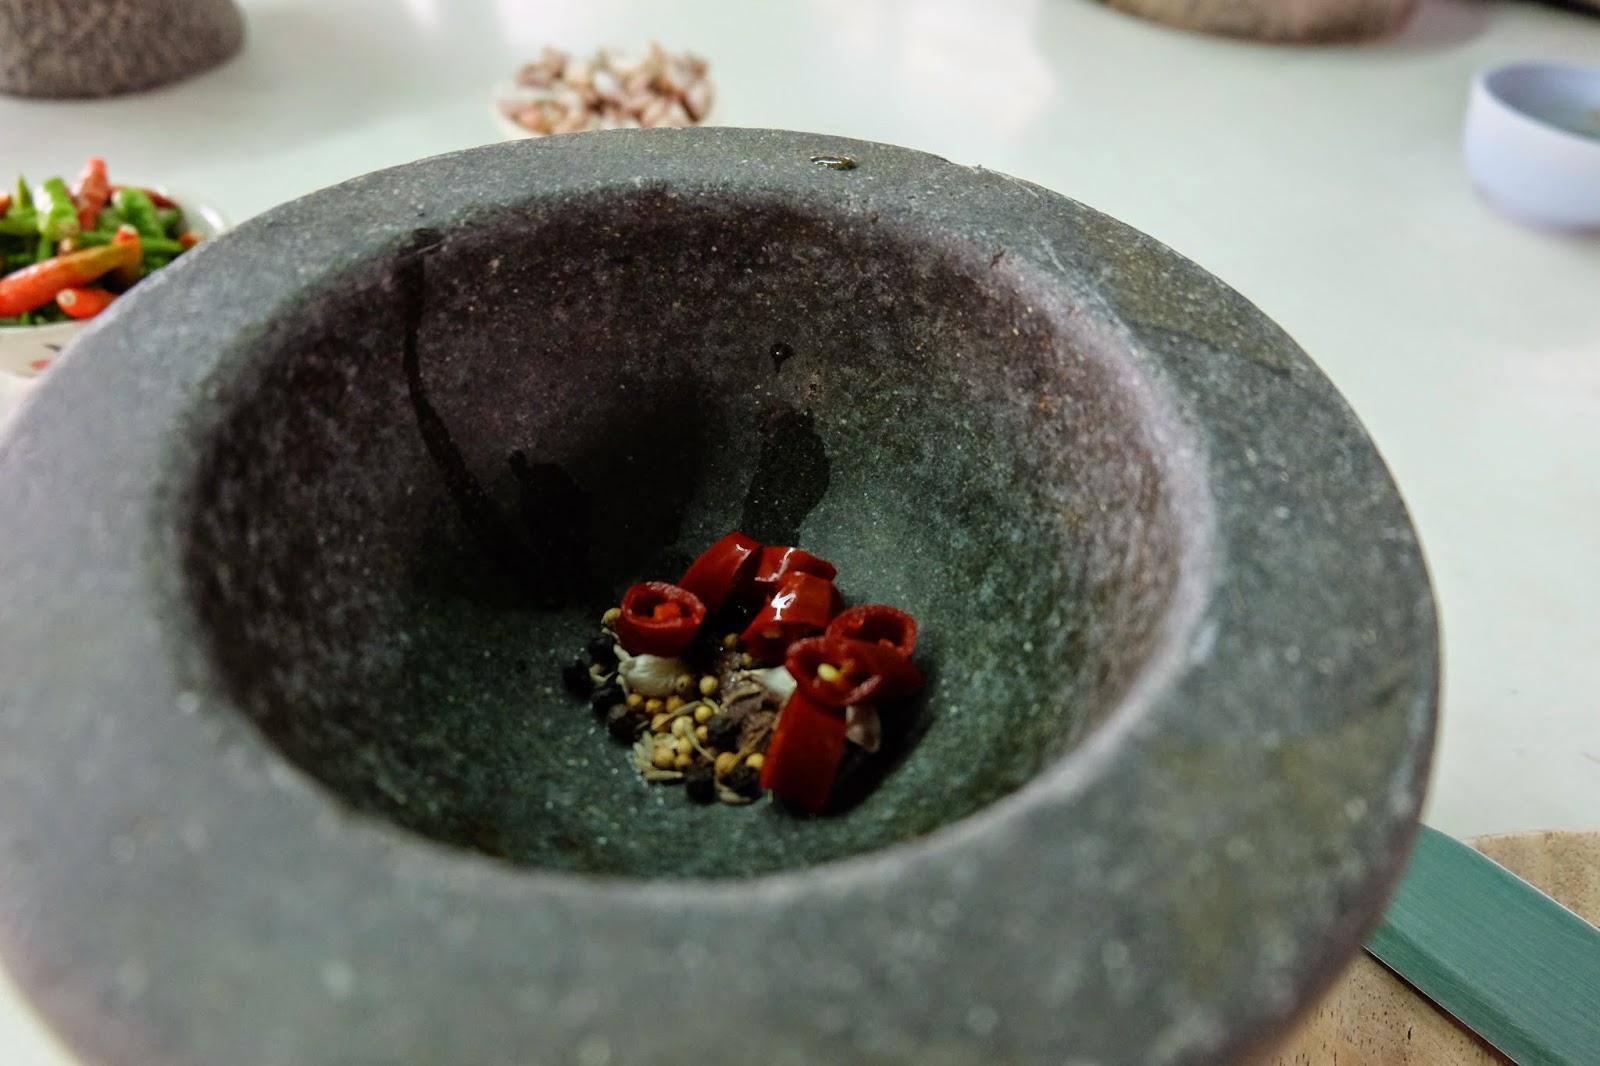
·
How to use the end of your knife to roll across
a chilli until it bursts and the seeds fall out – these ‘rolled’ chillies can
then be used in Thai salad dressing
The Gaeng Hang Lay was the most delicious thing we made,
along with the seafood sauce so I will share those two recipes with my
additions from what we did in the class. Thai meals
usually consist of a curry, salad and noodle dish all served together so in
that context each recipe serves 2 small portions but as a single main meal,
each recipe serves 1.
Red Curry Paste –
base for Gaeng Hang Lay
It really is best to use a pestle and mortar here since it releases the oils and merges the flavours properly. However this is only worth doing if you have a proper, heavy duty stone mortar with a big heavy pestle – not the miniature versions most of us have for grinding the odd spice here and there. Otherwise a food processor will do.

Ingredients (makes 1 heaped tablespoon of paste):
·
6 dried red chillies, chopped and soaked in cold
water for 5 minutes
·
2 Thai garlic cloves, skin on (can substitute
small regular garlic cloves)
·
1 teaspoon of shallots
·
¼ teaspoon galangal
·
¼ teaspoon of kaffir lime peel (can substitute for ½ tablespoon
regular lime peel but if you are in Chiang Mai this is a great thing to bring home)
·
1 tablespoon lemon grass, finely chopped
·
10 black peppercorns
·
¼ teaspoon dry coriander seeds
·
¼ teaspoon dry cumin seeds
·
¼ teaspoon shrimp paste
·
For Gaeng Hang Lay: add ¼ teaspoon Burmese masala (if you are in Chiang Mai, be sure to bring tonnes of this back!)
Method:
Finely chop your shallots, lime peel, galangal and lemon
grass. The better you do this, the less you will have to exhaust yourself with
your pestle and mortar


Put your coriander seeds and cumin seeds in a pan and dry
fry lightly until ever so slightly bronzed
Now put all the ingredients into the mortar and pound until
you have a fine-textured paste


This paste can be packed in an airtight container in the
fridge and last 3-4 months so its great if you do a bigger batch
Gaeng Hang Lay
I usually like Thai curries with coconut milk in them the
best but this one really doesn’t need it. It is deliciously fragrant and rich
on its own and one you really should try to make yourself. I liked it so much
that I am sure it will soon become one of my classics at home. It has some
flavours in common with a Massaman but is much simpler. It makes a delicious
meal served with jasmine rice steamed with desiccated coconut, and some stir
greens on the side. I particularly like this Pak Choi recipe as an
accompaniment for lots of Asian dishes
Ingredients (serves 1 as a main):
· 1 tablespoon red curry paste with Gaeng Hang Lay
spice mix
·
100g pork belly
·
2 bulbs of pickled garlic cut into quarters
(optional)
·
2 x 1 inch long knob of ginger (will need to
make 2 Tablespoons of shredded ginger)
·
1 teaspoon of palm sugar, to taste (different
palm sugars have very different strengths so err on the side of caution and add
more at the end if necessary)
·
1 ½ cups (360ml) water
·
2 teaspoons of fish sauce (or more to taste)
·
3 tablespoons of tamarind juice (you can buy
this in Thai supermarkets or make it yourself)
·
¼ teaspoon of chicken bouillon / ½ a stock cube
·
½ teaspoon of thickening flour e.g. rice flour
or corn flour
·
1 teaspoon of roasted peanuts, whole
·
1 tablespoon frying oil (vegetable or sunflower)
Method
Cut the pork belly into bite sized pieces and shred your
ginger into thin strips.

Carefully dissolve the stock, corn flour and palm sugar in the water, adding it little at a time and stirring. Depending on the type of palm sugar you have sometimes it helps to soften it for a few seconds in a microwave.
Put your wok on a low heat and add the oil and curry paste straight away. Stir as it heats up for a few minutes taking care that it doesn’t burn.

Add the pork. Stir until all sides of the meat are sealed.

Add the stock flavoured water and raise the heat to medium. Add all of other ingredients except for the peanuts and simmer until the pork is cooked (around 5 minutes). Check your pork by taking a piece and cutting it in half.

Taste and adjust seasoning if necessary – add salt, palm
sugar or tamarind for increased sourness.
Add the peanuts at the end and serve.
Thai Seafood Sauce
This simple sauce is the Thai equivalent to salsa verde. It
goes beautifully with steamed or fried fish, or any seafood for that matter.
The recipe below is not for the faint hearted but if you half the chilli dosage
it still makes a delicious sauce with a stronger coriander flavour. Again
recipe is for a small pot, probably enough for just 1 person

Ingredients:
·
2 regular, skinned garlic cloves
·
8 birds-eye chillies
·
2 coriander roots (can substitute for 20
coriander stems)
·
2-3 teaspoons lime juice
·
½ teaspoon palm sugar (or more, to taste)
·
½ teaspoon salt

Method:
Finely chop your garlic and coriander root / stalks
Cut the chillies into 2/3 pieces and crush in the pestle and
mortar for a good few minutes until they make a rough-textured paste
Add the garlic and coriander to the mortar and crush,
followed by the palm sugar and salt.
Now add the lime, mix up, taste and adjust seasoning if
necessary
Thai cookery class chiang mai, northern thai cookery class
chiang mai, thai cookery class review chiang mai, advance thai cookery class
chaing mai,
Thai cookery class chiang mai, northern thai cookery class chiang mai, thai cookery class review chiang mai, advance thai cookery class chaing mai,
Thai cookery class chiang mai, northern thai cookery class chiang mai, thai cookery class review chiang mai, advance thai cookery class chaing mai,
Thai cookery class chiang mai, northern thai cookery class chiang mai, thai cookery class review chiang mai, advance thai cookery class chaing mai,
Thai cookery class chiang mai, northern thai cookery class chiang mai, thai cookery class review chiang mai, advance thai cookery class chaing mai,